Arcs, Vertices, Angles, Ranges and I can't get my Bearings
After I got past one video tip from "Anthony Johnson 2008" I had to start guessing.
The supposed easy method of designing Stonehenge's layout escapes me. A rope and peg eh? I believe him but the best I could come up with were six orthostat centre points on the rings circumference. I used a cheap geometry set compass. I need a bigger compass and larger paper to figure it out I guess. I must be missing something. The problem is I, am being cheap. There is a book by Anthony Johnson called "Solving Stonehenge" that I meant to buy months ago. It's not in the library either. Had I gotten it I think I would be having an easier time.
By now some of you probably have wondered why I'm having so much trouble since I already built Stonehenge on Sandbox. I used a completely different and actually better method for that map. It was done using similar squares. I drew the Forge grid on a scaled plan of Stonehenge. Using it I was able to precisely position the many artifacts by counting squares and then positioning the block appropriately. I literally counted down and over a value from the plan and then eyeballed the final precision. The smaller the squares, the more accurate the result. I was limited to what Forge had to offer but it was good enough for accuracy of about plus of minus a couple of feet. The outer ring may have been off a bit but everything inside it was pretty much bang on.
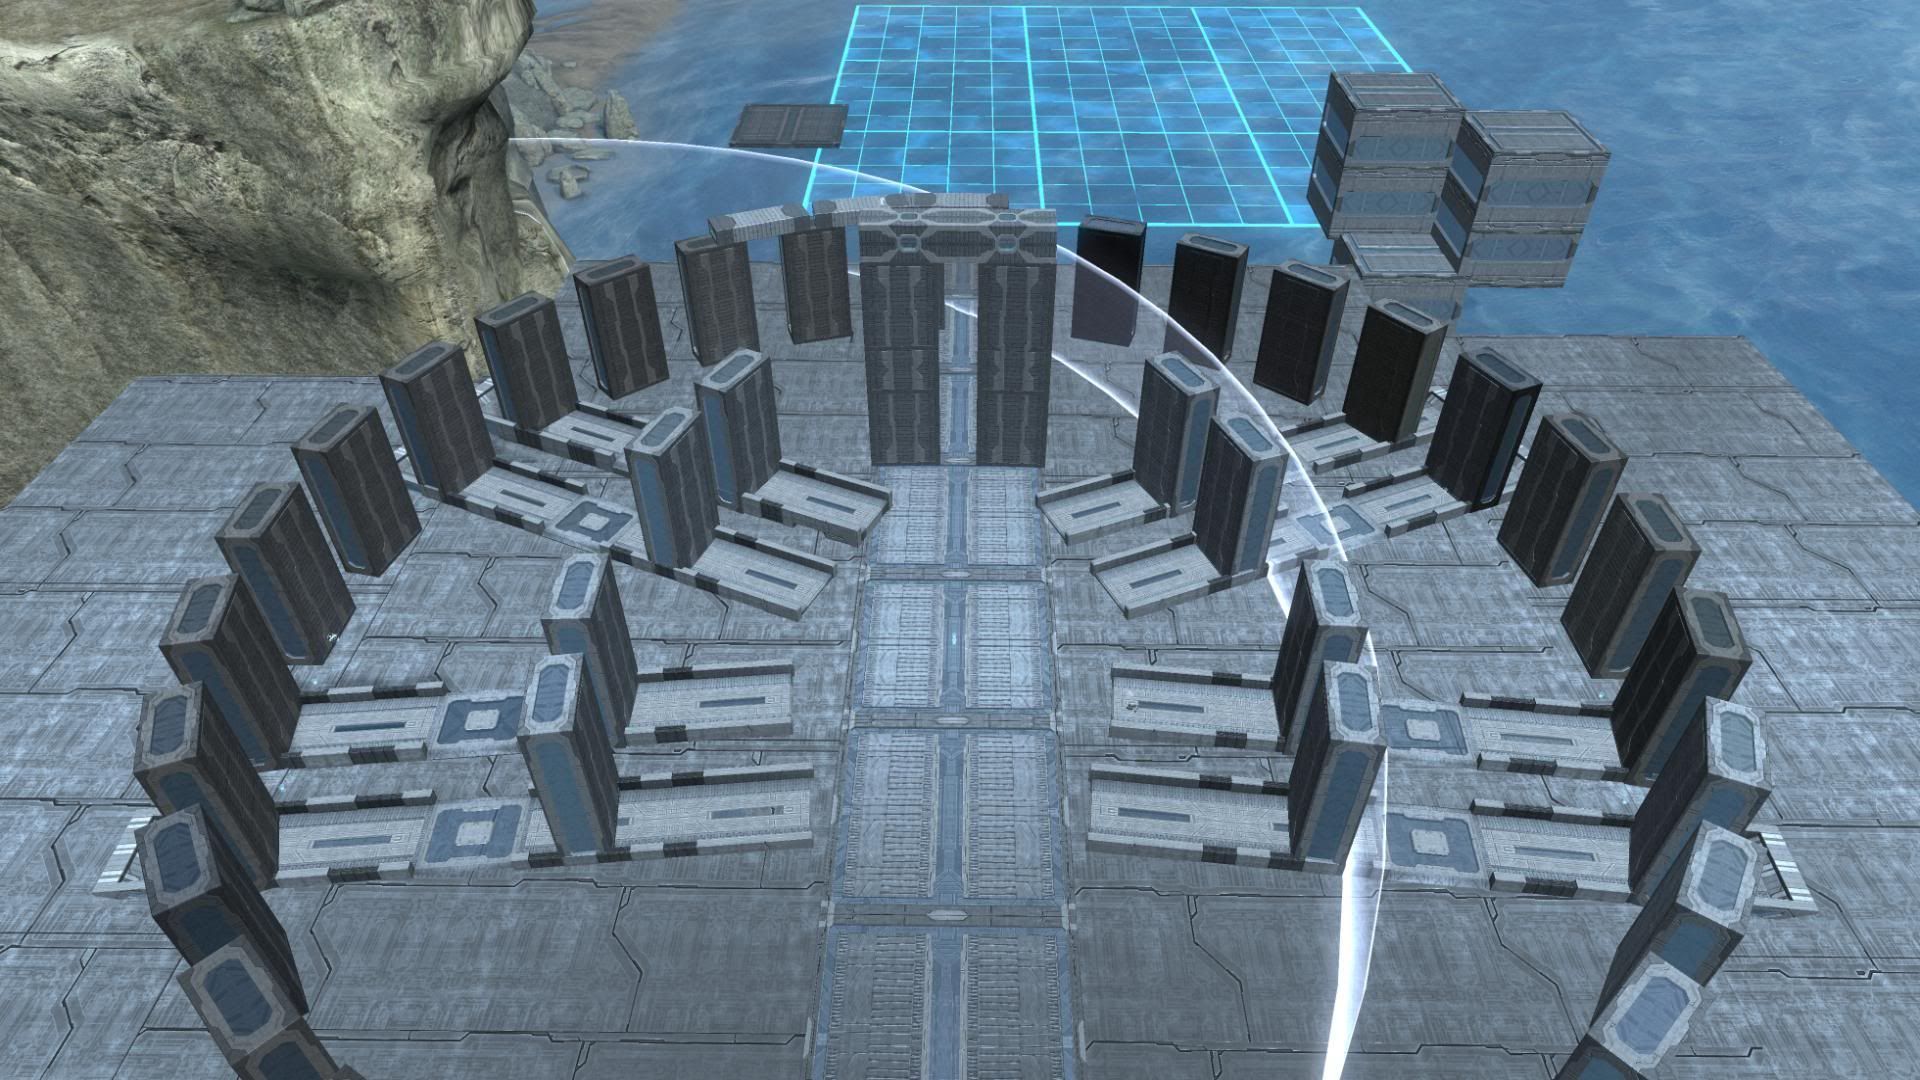
This time around I am building a complete structure using the same design as the builders had planned. This requires precise scaling and tools in Forge which should give the same result but via different methods. I can swing arcs of a certain diameter/radius but to get the intersection I have to use a virtual rope using a large walkway. In order to swing the required arcs I have to know where the vertex should be. So far I figured it must be between two orthostats like used for the Great Trilithon. I also guessed the diameter/radius was the same as for the Great Trilithon. Adding to that guessing was determining which opposing orthostats were the correct ones for using my virtual ruler to get the bearing.
This first picture shows what happens when you pick the wrong opposing orthostats. I left the large walkways in so I could keep an eye on symmetry. Good thing.
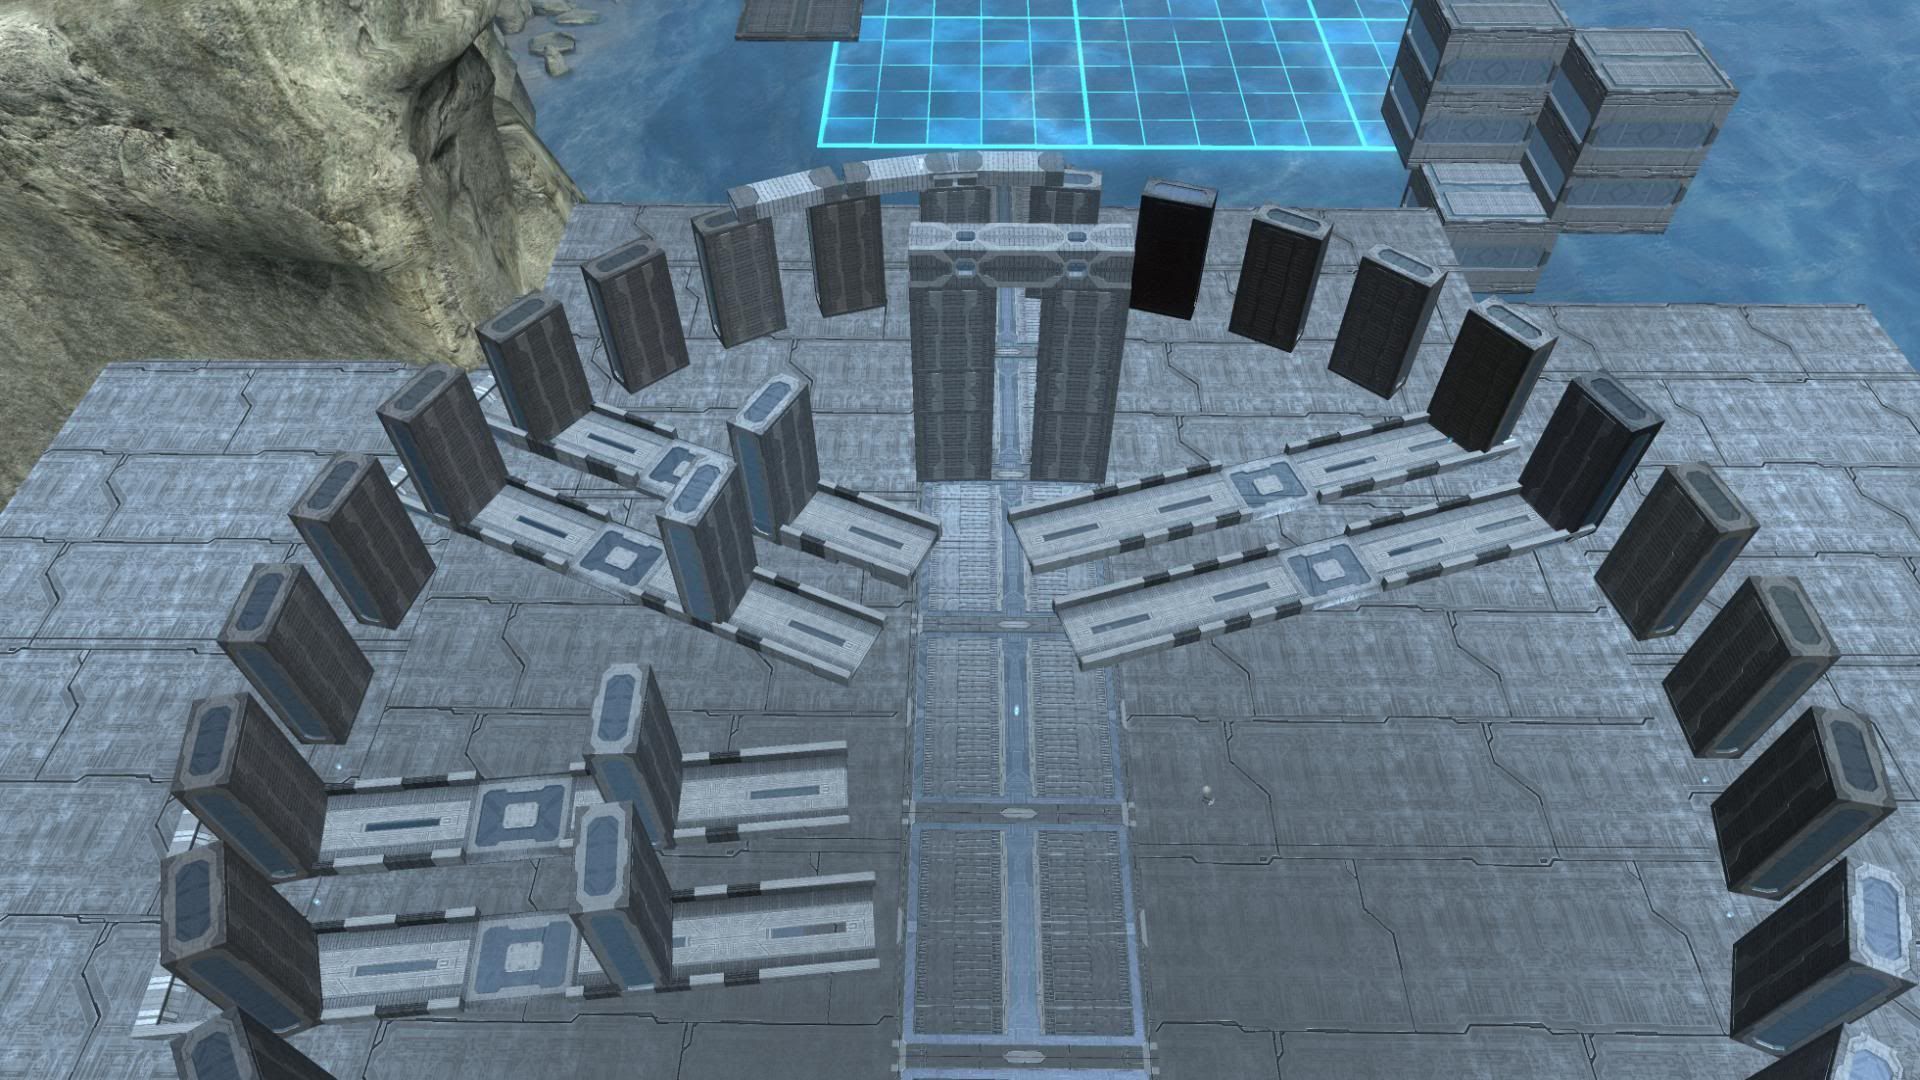
Each Trilithon set requires its arc be swung from its own vertex. I have now laid the foundations for the remaining Trilithon horseshoe. I want to finish them quick and jump ahead to the inner rings of smaller stones but I must force myself to stop and scale off some of the Trilithon positions.
Looming on the horizon is the issue of how many stones were used for the concentric circle just inside the outer ring.
Comments (0)
No comments yet. Be the first to share your thoughts!